
LAMP stack is basically a web server setup on Linux with combination of opensource softwares like Apache,MySQL and PHP. It is the most popular web hosting environment to run dynamic websites like wordpress,joomla,drupal and most of the PHP based websites.
So here Apache is web server, MySQL is database used to store data and PHP is used to process dynamic content.
Setup LAMP server on ubuntu 18.04 is quite easy. In this article we will install and configure each component step by step.
1) Install Apache and configure
2) Testing Apache
3) Install MySQL and configure
4) Testing MySQL
5) Install PHP
6) Testing PHP
7) Testing Alltogether
1) Install Apache and configure
Step 1 » Apache is the most stable and popular web server ( See more Apache ). It is commonly using by web hosting companies all over the world.
We can install Apache using default repository in almost on all ubuntu varients.
So let’s start, Install Apache with below commands. It may prompt for the password since it requires root privileges to install packages.
krizna@leela:~$ sudo apt update
 krizna@leela:~$ sudo apt install apache2 -y
Step 2 » By default ufw firewall is enabled on server version, As a result it would blocks all traffic from outside.
So we can allow apache ports in ufw firewall using below command. This will allow 80 and 443 port access.
krizna@leela:~$ sudo ufw app info "Apache Full"
2) Testing Apache
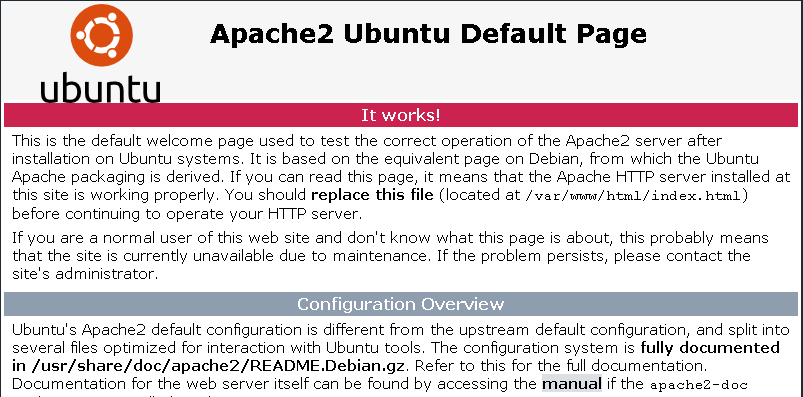
Step 3 » Now try to access http://SERVERIP ( http://192.168.1.10 ) in your web browser. You should able to see default apache page like below.
3) Install MySQL and configure
Step 4 » Once you get apache default page, Start installing MySQL server package using below command.
krizna@leela:~$ sudo apt install mysql-server -y
Step 5 » Above command will just install MySQL server package with all dependencies. So We have to run below command to configure it.
This command will helps you set password length and complexity. Also it helps you to set root password which is blank by default.Additionally you can remove anonymous user, disallow remote root login and Remove test database.
krizna@leela:~$ sudo mysql_secure_installation
4) Testing MySQL
Step 6 » Mysql does not allow to use user root for password authentication, since it is using auth_socket authentication method by default. So either we can change auth method for root or we can create new user which would use mysql_native_password method.
Here I prefer second method due to security reason. So use below command to create additional user and test mysql access.
Here we are creating username krizna with password Pass@123.
krizna@leela:~$ sudo mysql -e "CREATE USER 'krizna'@'localhost' IDENTIFIED BY 'Pass@123';"
Step 7 » Finally now test mysql access by using below command with username and password created.
krizna@leela:~$ mysql -u krizna -p
Enter password:
Welcome to the MySQL monitor.  Commands end with ; or \g.
Your MySQL connection id is 12
Server version: 5.7.22-0ubuntu18.04.1 (Ubuntu)
Copyright (c) 2000, 2018, Oracle and/or its affiliates. All rights reserved.
Oracle is a registered trademark of Oracle Corporation and/or its
affiliates. Other names may be trademarks of their respective
owners.
Type 'help;' or '\h' for help. Type '\c' to clear the current input statement.
mysql> exit
Bye
5) Install PHP
Step 8 » Most of all already know that PHP is the most popular programming language for making dynamic web pages. It is used by wordpress,Joomla and drupal.
Here use below command to install PHP along with all dependencies.
krizna@leela:~$ sudo apt install php php-mysql -y
6) Testing PHP
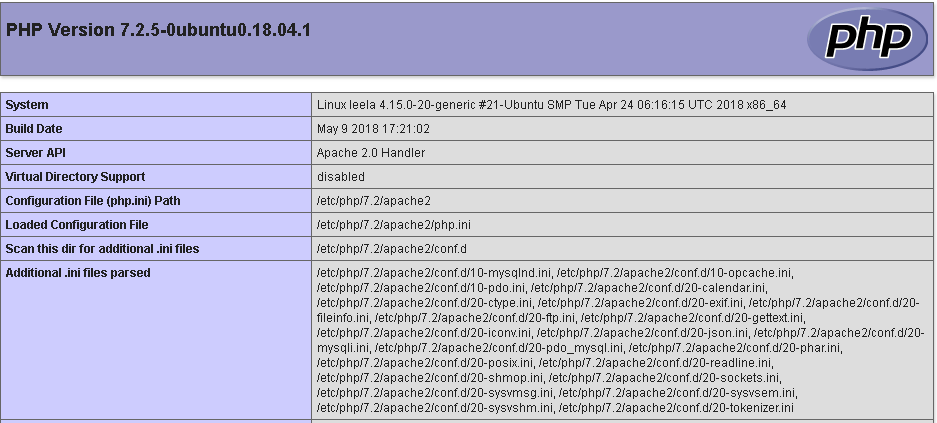
Step 9 » PHP installation itself would enable all needed modules in apache so we can directly test PHP. Therefore create a phpinfo.php file in /var/www/html/ directory with below content.
<?php
phpinfo();
?>
Simply run the below to create the file with content.
krizna@leela:~$ sudo sh -c "echo '<?php\nphpinfo();\n?>' > /var/www/html/phpinfo.php"
Step 10 » So now try to access created page http://SERVERIP/phpinfo.php ( http://192.168.1.10/phpinfo.php ) in you web browser. You should able to see page like below.
7) Testing Alltogether
Step 11 » Finally we setup LAMP server on ubuntu 18.04 . Now we can test Apache,PHP and MySQL together with below code. Purpose of this test is to ensure everything is working good especially MySQL access from PHP.
So create /var/www/html/dbtest.php file with below content. Also replace MySQL username and password with your credentials created in step 6.
<?php
$con = mysqli_connect("localhost","krizna","Pass@123");
if (!$con)
{
die('Could not connect: ' . mysql_error());
}
else
{
echo "Congrats! connection established successfully";
}
mysql_close($con);
?>
Step 12 » Now access http://SERVERIP/dbtest.php ( http://192.168.1.10/phpinfo.php ). As a result you should able to see Congrats message if it’s success.
Once you setup LAMP server on ubuntu 18.04 check this article to secure the server.
All the best.
Also see
Setup LAMP server on centos 7
Leave a Reply