
MySQL workbench is a GUI tool for managing MySQL database system. It is used by database administrators, database architects and developers to visualize database design. In this article, we will see about how to install MySQL workbench on ubuntu 20.04.
MySQL workbench has many features like visual SQL development, visual DB administration, connection management, visual data modeling and even more.
Additionally database migration feature helps you to migrate to MySQL from Microsoft Access, SQLite, Sybase SQL Anywhere, Microsoft Access, Microsoft SQL Server, PostgreSQL and much more. Above all, It is cross platform application which is available for Windows, MacOS and Linux.
It is available in 3 different editions standard, enterprise and community. Community version is open source therefore we can use it for personal and non commercial purpose.
Install MySQL workbench on ubuntu 20.04
We can install MySQL workbench in 2 different ways.
1. Using apt repository
2. Manual method
Apt repository
Using this method, We can install MySQL workbench from official repository.
Step 1. Download the repo config file from the below url. It will directly take to the download page where you can see ubuntu/debian repository config file.
Browse the following url https://dev.mysql.com/downloads/repo/apt/ and Just press Download.
In the Next page click “No thanks, just start my download.” to download the package to your local directory.

Step 2. Check the file in the download directory and install using the below command. This will actually put MySQL repository urls in apt sources list so that we can install the software.
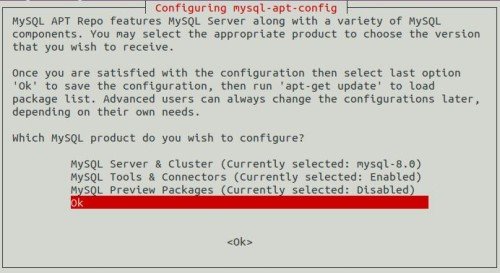
sudo apt install ./mysql-apt-config_0.8.15-1_all.deb While installing you will be prompted to choose MySQL version and it will be pre-selected. So select OK option by using down key and hit Enter.
Step 3. Update the apt cache by typing below command.
sudo apt update
Step 4. Now install MySQL workbench from the repository using following command.
sudo apt install mysql-workbench-community
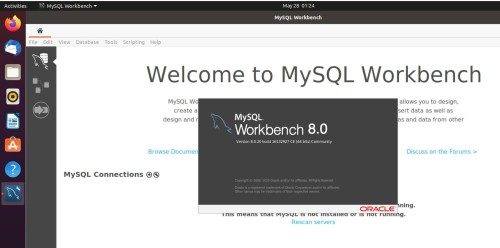
Step 5. Finally, Launch workbench using application launcher.
Manual method
We can download software directly from the official website and we can install it using following method.
Step 1. Download MySQL workbench software from the below url. This is an official url, So you can directly download the file to your local directory.
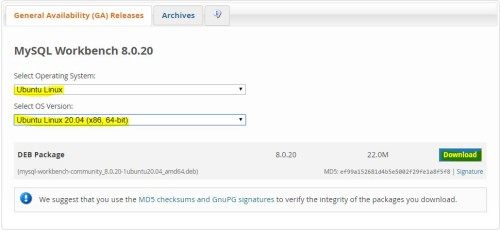
Browse the following url https://dev.mysql.com/downloads/workbench/ and choose below options.
» select operating system as “Ubuntu Linux”.
» Select OS version as “Ubuntu Linux 20.04 (x86, 64-bit)”.
» Press Download.
» In the Next page click “No thanks, just start my download.” to download the package to your local directory.
Step 2. Once download completed, you can check the downloaded package and Install using below command. Moreover this command will install package along with dependencies.
sudo apt install ./mysql-workbench-community_8.0.20-1ubuntu20.04_amd64.deb
Step 3. Finally, Launch workbench using application launcher.
See also,
How to install google chrome on ubuntu 20.04
How to install Visual Studio Code on ubuntu 20.04
Leave a Reply