
Samba on ubuntu 12.04
Samba is a software package which helps to share files between linux and windows, This post explains, how to share files between ubuntu and windows using samba. This is a very basic guide only for beginners.
Samba installation on ubuntu 12.04 :
Open terminal ( CTRL + ALT + t ) and follow the steps.
Step 1 » Update the respository .
krizna@leela:~$ sudo apt-get update
Step 2 » Install samba by typing the below command.
krizna@leela:~$ sudo apt-get install samba samba-common
Step 3 » Install GUI admin tool and it’s dependencies.
krizna@leela:~$ sudo apt-get install python-glade2 system-config-sambanow the installation is over.
Samba configuration on ubuntu 12.04 :
Step 4 » Create a user with restricted shell access.
krizna@leela:~$ sudo useradd -s /bin/false myshareHere myshare is the username.
Step 5 » create samba password for the user myshare.
krizna@leela:~$ sudo smbpasswd -a myshareStep 6 » Create a folder for sharing .
New SMB password:
Retype new SMB password:
krizna@leela:~$ sudo mkdir /shareyou can also create in the user home directory .
Step 7 » Modify ownership of the share folder .( Not required if the folder is created in home directory ).
krizna@leela:~$ sudo chown -R myshare /share
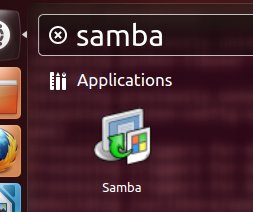
Step 8 » Now open the GUI Samba admin tool
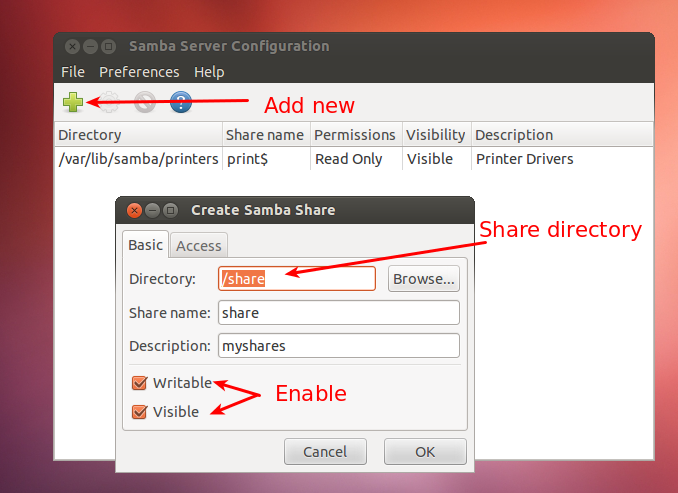
Step 9 » Click Add new share and enter the share details under basic tab like below image.
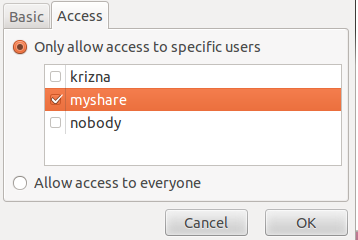
Step 10 » Add the username ( myshare ) for your share under access tab and click ok.
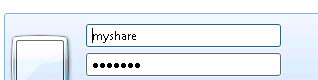
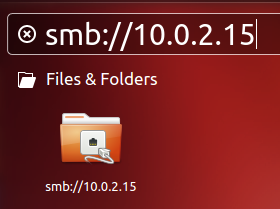
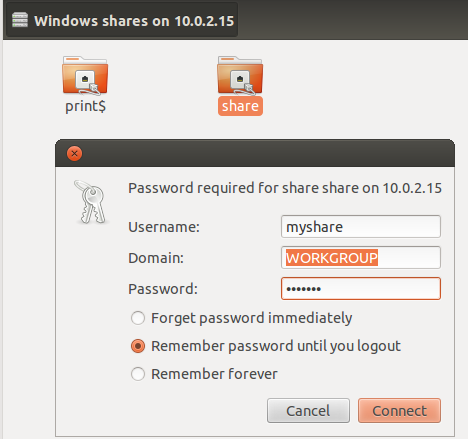
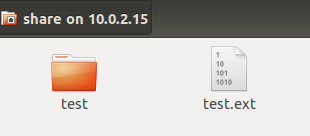
Step 11 » Now you can able to access you share from windows machines using ip address.

Step 12 » From ubuntu
Have a nice day
Leave a Reply