LAMP is basically a software bundle made up of open-source softwares ( Linux – Apache – Mysql or Marimba – Php / Perl / Python ) . LAMP refers to the first letters of each component .
This article explains the installation and configuration of LAMP on linux mint 13.
LAMP installation in linux mint 13 is very simple, we can install using a single command .
Press ALT + CTR + T to open terminal.
Step 1 » Update the repository.krizna@leela:~$ sudo apt-get update
Step 2 » Issue the below command to install apache,mysql and php along with dependencies.krizna@leela:~$ sudo apt-get install lamp-server^Don’t forget to include ^ [caret symbol] at the end.
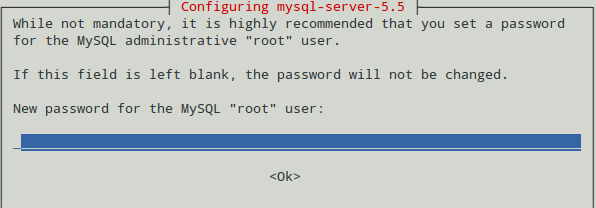
Step 3 » During the installation, you will be prompted to create root password to access mysql database. Type your password and complete the installation
Step 4 » Now add the below line to /etc/apache2/httpd.conf file to avoid warning during apache service restart.ServerName localhost
Step 5 » Restart apache service .krizna@leela:~$ sudo /etc/init.d/apache2 restart
Now check the installed components one by one.
Apache testing
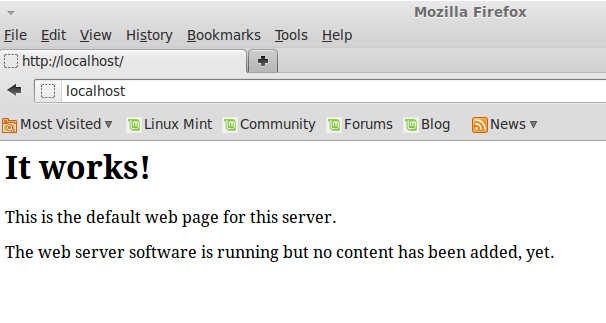
Step 6 » Open http://localhost or http://youripaddress (http://10.0.2.15) in your browser. you can see the page like below.
Mysql testing
Step 7 » Type the below command in the terminal and type your mysql root password which is created during the installation.You can login to your mysql database and can see the below things.krizna@leela ~ $ mysql -u root -p
Enter password:
Welcome to the MySQL monitor. Commands end with ; or g.
Your MySQL connection id is 46
Server version: 5.5.32-0ubuntu0.12.04.1 (Ubuntu)
Copyright (c) 2000, 2013, Oracle and/or its affiliates. All rights reserved.
Oracle is a registered trademark of Oracle Corporation and/or its
affiliates. Other names may be trademarks of their respective
owners.
Type 'help;' or 'h' for help. Type 'c' to clear the current input statement.
mysql>
PHP testing
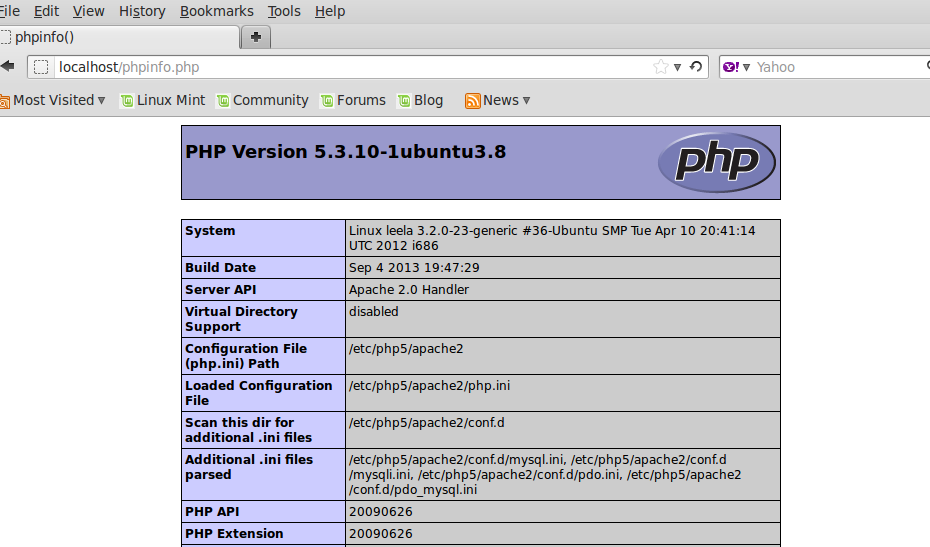
Step 8 » Create a file /var/www/phpinfo.php and add the below code .
<?php
phpinfo();
?>
Now open http://localhost/phpinfo.php in your browser. you can see the page like below.
You can see all the configuration details in that page .
We can test mysql connectivity through php.
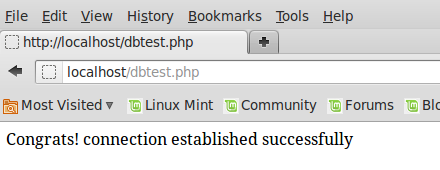
Create a file /var/www/dbtest.php and add the below code and replace your dbpassword in that code.
<?php
$con = mysql_connect("localhost","root","yourdbpassword");
if (!$con)
{
die('Could not connect: ' . mysql_error());
}
else
{
echo "Congrats! connection established successfully";
}
mysql_close($con);
?>
Now open http://localhost/dbtest.php in your browser. you can see the msg “Congrats! connection established successfully” ..
you did it …
Good luck
Visual Studio Code is a popular code editor which is lightweight and cross platform application.…
MySQL workbench is a GUI tool for managing MySQL database system. It is used by…
Android Studio is a popular development software used especially for developing android applications. It is…
Google chrome is a most popular web browser developed by google. It was developed to…
Zoom is a popular video conferencing software. It is commonly used for conducting online meetings,…
TeamViewer is a popular application for desktop sharing and remote control. It is available for…